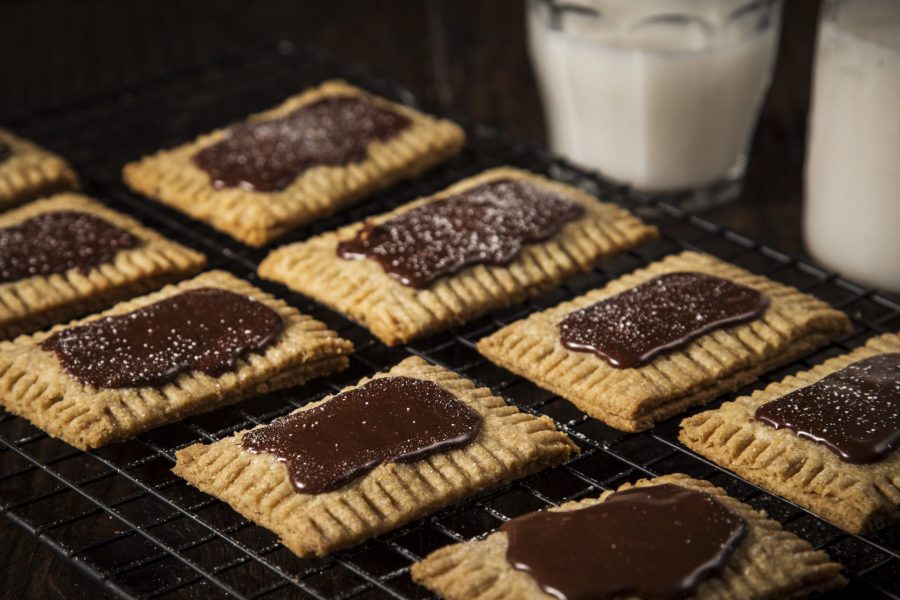
Mornings can be a little lacklustre, but not when you have Chocolate Cannabis Pastry Tarts!
Picture this: you’ve got a beautiful breakfast spread with cannabis coffee, your favourite morning tunes are playing and the sun is shining. You just need that perfect chocolate-tart to round it all off.
That’s where today’s chocolate-loaded weed edible recipe comes in.
Let’s bake, and get baked!
Tell Me About This Recipe
These delicious tarts are:
draped in chocolate icing
a homemade version of the store-bought pop tarts but wayyy better
best after completely cooled – but you can dig in when they’re still a little warm
easy to make and bake
definitely a treat for breakfast, or any time of day you’re craving something chocolatey and sweet.
What Ingredients Will I Need?
You’ll need to have a look in the pantry, otherwise, go out to the store or market and grab what you need. This also requires a few intermediate kitchen utensils (also listed below):
all-purpose flour
cocoa powder
salt
sugar
cannabis butter (recipe below)
milk
egg
semi-sweet chocolates
confectioners sugar
vanilla extract
Utensil Suggestions
These are some of the more advanced or intermediate utensils you’ll need for today’s recipe:
food processor
rolling pin
pastry cutter
silicone whisk
How Do I Make Cannabutter?
The only way to make this recipe better is to infuse cannabutter into it!
Here’s how:
A recipe on how to make cannabis butter at home. After many cannabutter recipes, we find that this is by far the best way to infuse weed with butter.
Decarboxylate your weed by spreading your cannabis evenly on an oven tray And coat with aluminum foil.
Place in the oven on 240F/115C for 25 till 45 minutes, and then let it cool.
Grind your dry cannabis or chop it till fine.
Place the cannabis in a strong mason jar, add butter and (1 tsp of sunflower lecithin)(optional)
Place your closed jar in cold water and let it come to a boil, Boil for 2 to 3 hours.
Strain your butter through a cheesecloth.
Cool down
Now you can use the Cannabis Butter (Cannabutter)
Video
Notes
If using a mason jar, be sure to start with cold water. Furthermore, it is imperative to let the water cool gradually so that your glass will not shatter.The video guide might be slightly different than the blog recipe. The blog recipe is the most updated and accurate.
I can’t wait to see the comments about this recipe. So yummy, full of chocolate-flavour, and relatively easy. Please make sure you label them appropriately if you have kids at home.
They’re going to want to eat them – so the option is always to make one edible batch that’s separate and labelled, and one non-edible batch for any kids in the house.
Speaking as a parent, I’m always cautious with everything to do with cannabis in my home.
Just like pop tarts you buy in the store, but SO MUCH BETTER!
Place the flour, cocoa powder, sugar, and salt into a large 8-cup capacity or higher food processor or, if you don’t have a food processor, in a large bowl. Pulse or whisk until combined.
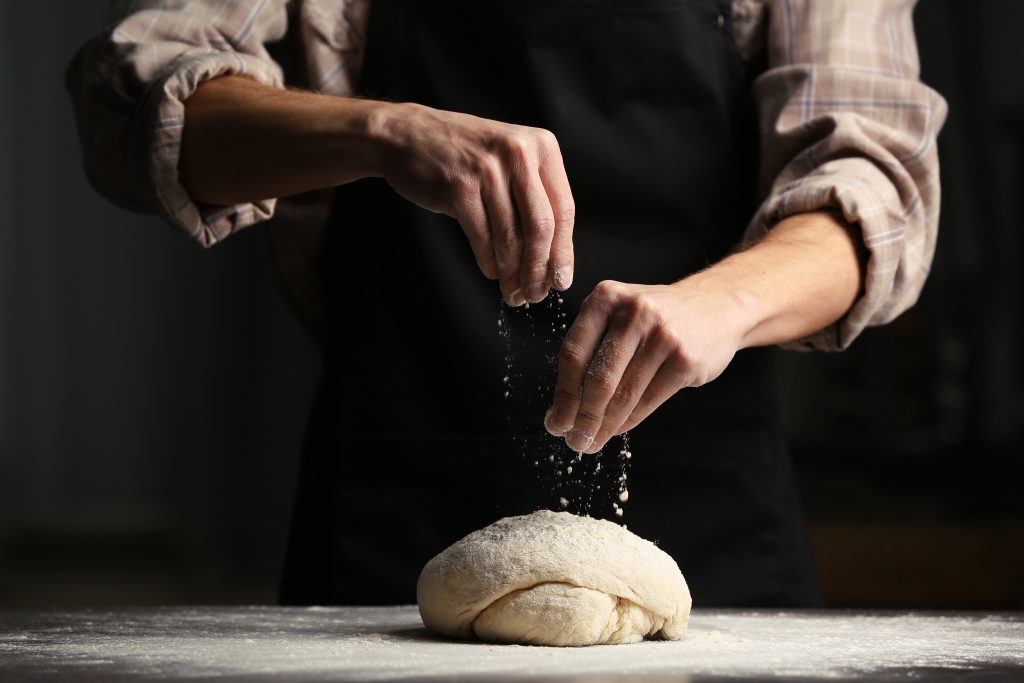
Add cannabutter and pulse or use a pastry cutter to manually cut in until coarse pea-sized crumbs form. In 3 steps pour in the milk and pulse or stir after each addition. After all the milk is added, pulse or stir more until the dough clumps up and comes together. If it’s too dry, add 1 Tablespoon (15ml) of cold milk. Pour onto a work surface lightly dusted with cocoa powder or all-purpose flour. Use your hands to form dough into a ball. Divide the dough in half and flatten each into 1-inch thick discs. Wrap each disc tightly in plastic wrap and refrigerate for 2 hours.
FUDGE FILLING
The fudge filling needs to cool and thicken, so make it right after the dough. Place chocolate, milk, and sugar in a medium saucepan over medium heat. Stir frequently as chocolate melts and mixture combines. Once melted, remove from heat and stir in the cannabutter and vanilla extract. Pour into a heatproof bowl, cover, and set aside at room temperature to cool and thicken.
Line 1 large baking sheet with parchment paper or a silicone baking mat. Make sure there is enough room in your refrigerator for the baking sheet because the shaped pastry pop tarts must chill for 15 minutes before baking.
Remove 1 of the dough discs from the refrigerator and let it sit at room temperature for 10 minutes to slightly warm up because it will be quite solid. (Keep the other in the refrigerator until step 5.) Lightly dust a work surface, rolling pin, and your hands with cocoa powder or all-purpose flour. Using a rolling pin, roll the dough into a 9×12 inch rectangle. Trim the edges of the rectangle to straighten if needed. Cut rectangle into 3 equal strips and cut those into thirds for a total of 9 3×4 inch rectangles. Arrange the dough rectangles 2 inches apart on the prepared baking sheet and chill in the refrigerator as you roll out 2nd half of dough in the next step.
Roll out the 2nd half of dough and cut into 9 3×4 rectangles like you did with the 1st half of dough in step 4.
Remove 1st set of dough rectangles from the refrigerator. Using a pastry brush, brush edges of each of these 9 rectangles with egg wash. Spoon a heaping Tablespoon of filling into center of each. Lay the other set of pie dough rectangles on top of each and press your finger around the edges to slightly seal. Poke holes in the top pie crust with a fork or toothpick and then crimp with a fork.
Meanwhile, preheat oven to 375°F. Brush pastry tarts with egg wash and bake for 25-26 minutes or until edges appear set. Remove from the oven and allow pastries to cool for 5 minutes before transferring to a wire rack to cool completely.
In a medium saucepan over low heat or in a medium heatproof bowl using the microwave, warm butter and water together until butter has melted. Whisk mixture with the remaining icing ingredients. Cool icing for 15 minutes before spooning onto pastries. You can add the icing when the pastries are still warm, but again, they taste best after completely cooling.
And if you love how-to-videos, our YouTube channel has everything you need.
Share our post and comment below! We’d love to hear from you.
As always, happy canna-cooking!
Steph Van De Ven
I am a prof writer/blogger & love my daily dose. I'm Canadian-Dutch, a horse owner, and love exploring new CBD & THC recipes, trends & products to share with you! #Cannadish