For parents all over the country, this is the most wonderful time of the year! Today we’re exploring 5 Back To School Tips For Prepping Edibles.
If you’re a parent who loves cannabis, you’ll love and appreciate today’s blog.
Being a parent myself, I know the stress that back to school can cause – even if it’s a wonderful time of year!
Not only do I have to prepare, organize and batch-cook for my kid, I also like to prepare my edibles in advance.
Today I’m going to share with you how to divide and conquer, so you can actually enjoy back to school and ditch the stress!
cbd-helps-stress
Tip #1 – Batch Bake Edibles
Here’s the thing, if you’re already making it, why not just double or triple it? This way, you’ve got everything you need in a pinch, without any of the time it would normally take.
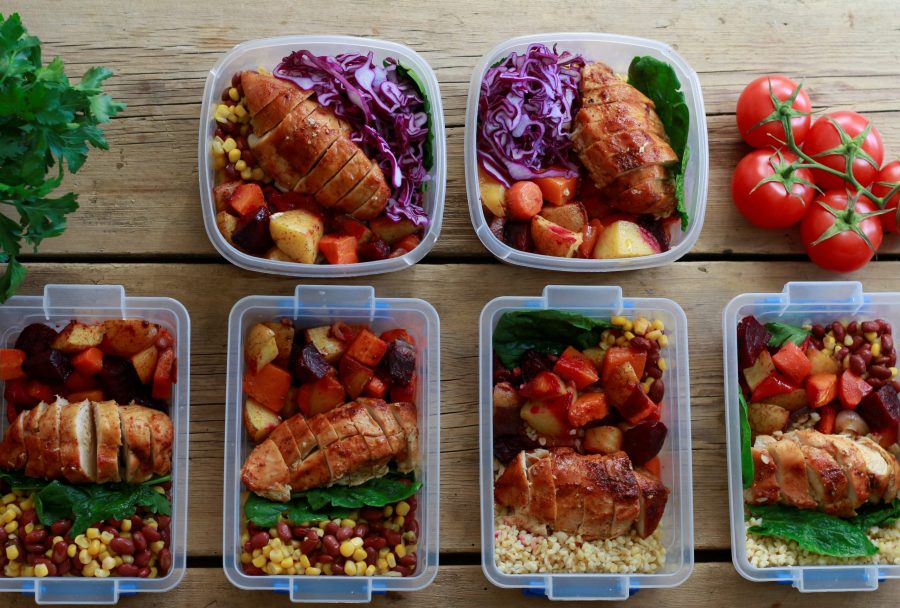
I like to batch bake and cook on Sundays. I prep, cut, prepare, bake, label and freeze and this includes my kid’s snacks too.
This helps me out big time and while I love cooking from scratch, I always love it when I am in a rush or too tired to do anything, and I have a backup ready to rock.
The recipe I have below yields one batch, but if you double up, and then use ice cube trays to store them in the freezer you’ll have more than enough for months of yummy edible recipes!
Just cover it up with plastic wrap and some elastics so that it’s fully covered. Always label.
Steph Van De Ven
Cannabis Butter (Cannabutter)
4.68 from 34 votes
A recipe on how to make cannabis butter at home. After many cannabutter recipes, we find that this is by far the best way to infuse weed with butter.
Decarboxylate your weed by spreading your cannabis evenly on an oven tray And coat with aluminum foil.
Place in the oven on 240F/115C for 25 till 45 minutes, and then let it cool.
Grind your dry cannabis or chop it till fine.
Place the cannabis in a strong mason jar, add butter and (1 tsp of sunflower lecithin)(optional)
Place your closed jar in cold water and let it come to a boil, Boil for 2 to 3 hours.
Strain your butter through a cheesecloth.
Cool down
Now you can use the Cannabis Butter (Cannabutter)
Video
Notes
If using a mason jar, be sure to start with cold water. Furthermore, it is imperative to let the water cool gradually so that your glass will not shatter.The video guide might be slightly different than the blog recipe. The blog recipe is the most updated and accurate.
Tip #3 – Buy CBD and Create Gummies
Have you ever had a morning where you all of a sudden run out of your gummies? You keep reminding yourself every day to pick up some more, or cook up a batch, but that dreadful morning always seems to happen as a surprise!
At least for me, anyway.
So I make my own, throw them in the fridge, sometimes I freeze them, and I have gummies every day for what seems like an eternity.
You really just have to plan, that’s all there’s to it.
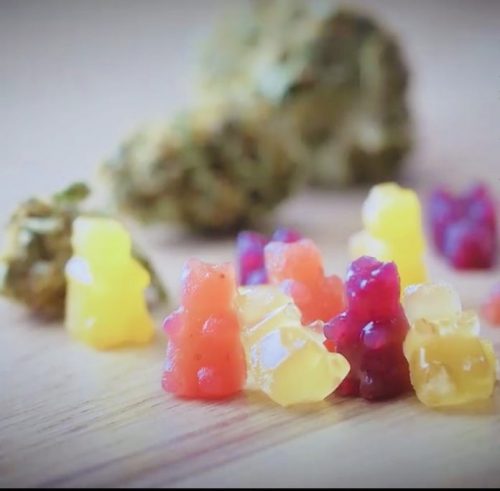
Here’s a great CBD Gummy Recipe:
Steph Van De Ven
Do-it-yourself CBD Gummy Bears
4.66 from 23 votes
Our DIY Gummy Bears are easy to create so you can easily dose cannabis discretely!
Pour 1/2 cup of water into a sauce pan set on low heat
Add 1 package of Jello (85 size/3 oz size)
Add 1 tablespoon of gelatin
Mix until all dissolved and then remove from heat
While still hot, Add your CBD tincture/oil and whisk well
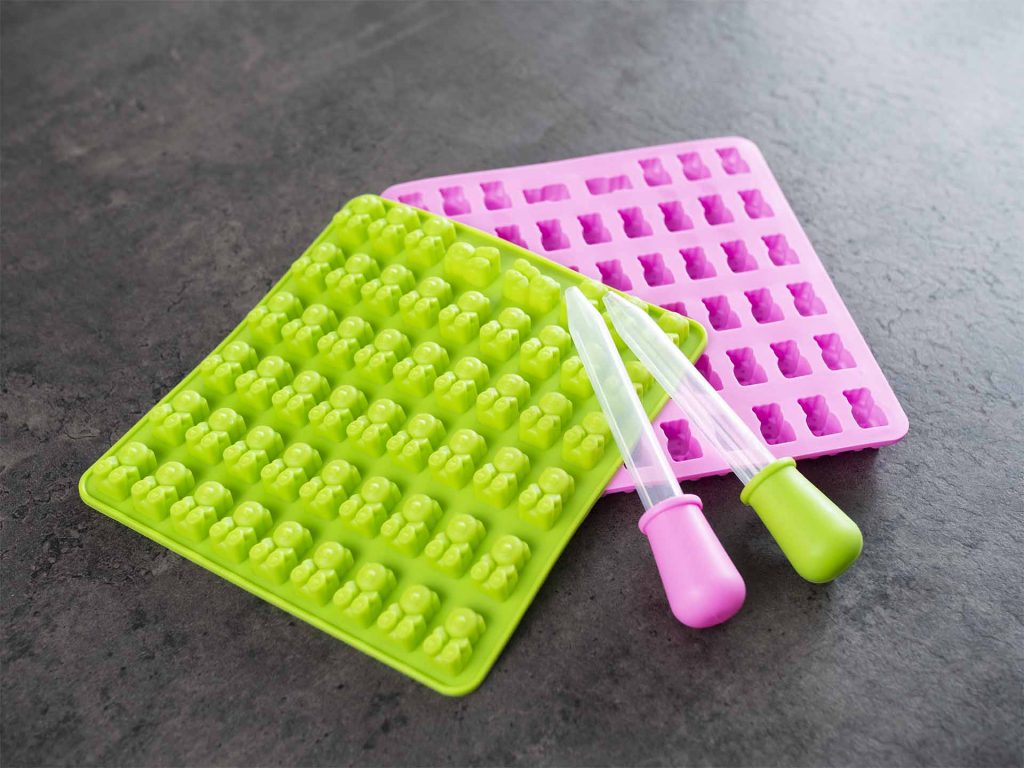
Using the dropper add into your mold
Video
Notes
The following video is a different recipe that shows how to make the tincture from scratch. It also shows how it is made using fruit juice for a more healthier option. You can follow the recipe you prefer.
Tip #4: Storage for Edibles
Now that you’ve got a plan in place, and maybe I’ve inspired you to pick a Sunday soon to batch cook and bake, you’ll need storage!
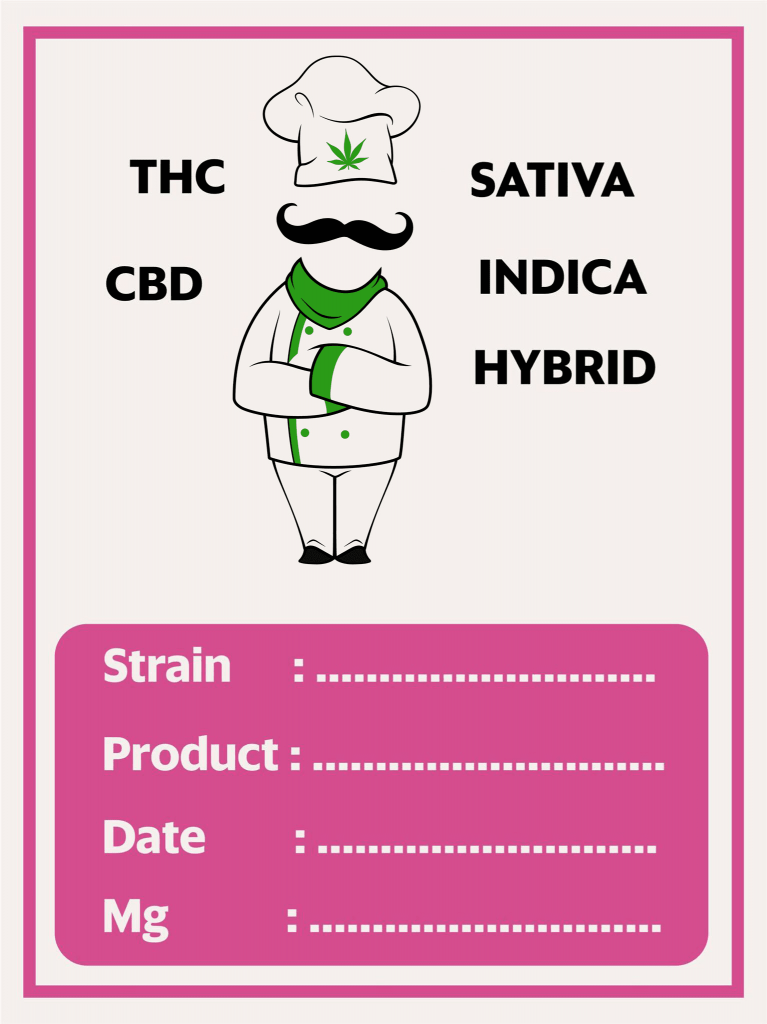
On top of your labels, you’ll need appropriate molds for your cannabutter, and your gummies as well.
Let me introduce you to silicone if you haven’t loved it already!
My top tip is using silicone molds, covering my cannabis creations with plastic wrap, and storing it in the fridge or freezer for easy access.
In a small bowl, beat the cream cheese, sugar, egg and vanilla until smooth; set aside. For brownie layer, combine the cannabus butter, sugars and cocoa in a large bowl. Beat in eggs and vanilla. Combine flour and baking powder; gradually add to cocoa mixture. Stir in crushed cookie crumbs.
Pour into a greased 11×7-in. baking pan. Spoon cream cheese mixture over batter. Sprinkle with coarsely chopped cookies. Bake at 350° for 25-30 minutes or until a toothpick inserted in the center comes out with moist crumbs. Cool completely on a wire rack. Cut into bars. Store in the refrigerator.
If you’re looking to up-level your canna-cooking or baking game, or you want more of a canna-challenge, you may want to start here.
And if you love how-to-videos, our YouTube channel has everything you need.
Share our post and comment below! We’d love to hear from you.
As always, happy canna-cooking!
Steph Van De Ven
I am a prof writer/blogger & love my daily dose. I'm Canadian-Dutch, a horse owner, and love exploring new CBD & THC recipes, trends & products to share with you! #Cannadish